Installation
In the following, we will be walking through the requirements to get you setup with tensorforce-client and how to satisfy or install each one of them.
Your Google Account (Including Service Account)
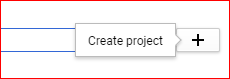
Create a new google account or use an existing one. Then go to http://console.cloud.google.com and create a new cloud project:

Click here …
Enter a project name (only using alphanumeric or hyphens), for example: “TensorForce-Client”. Select this project to be your active project from here on.
… enter a name and click there.
Next, you will have to enable billing by providing Google with a (non-prepaid) credit card or a bank account number. This is necessary in order for Google to charge you for your future accrued cloud computing costs.
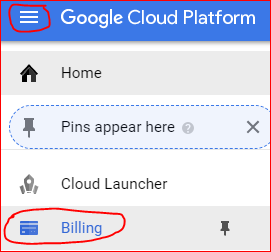
How to get to “Manage your billing account”.
Then go to “APIs and Services” from the main menu (see image below) …
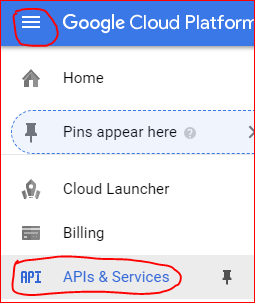
How to get to “APIs and Services”.
… and activate the following APIs (some of which may have already be enabled by default):
- Google Compute Engine API
- Google Kubernetes Engine API
- Google Cloud Storage
- Google Container Registry API
- Cloud Container Builder API
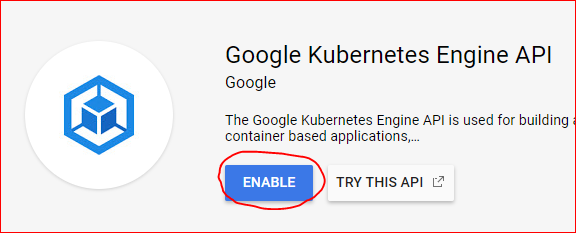
Enabling the Kubernetes Engine API.
The last thing, we need to do with our google account is to add a so called “service account” to our project. This is so that we register our local glcoud app (see below) with our account and give permissions to it to create clusters and run experiments.
Go to the main menu -> “IAM & admin” -> “Service accounts”:
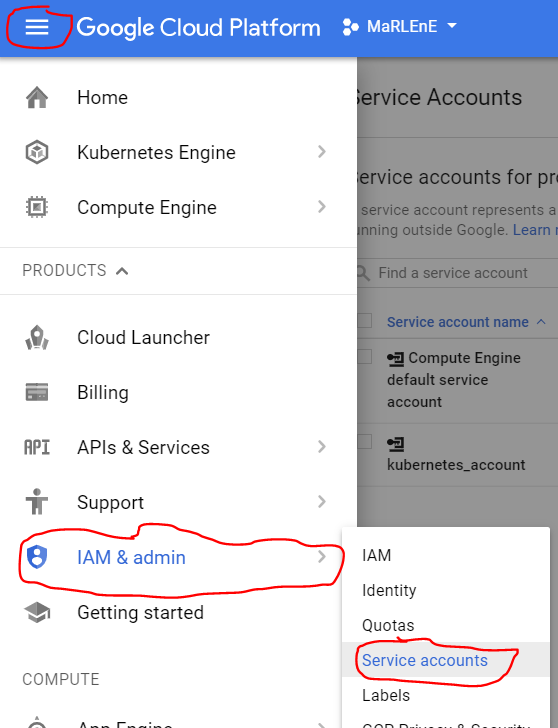
How to get to “Service Accounts”
… and click on:

Fill out the upcoming form like this (important to ask google to create a new private key for you, unless you would like to use an existing one):
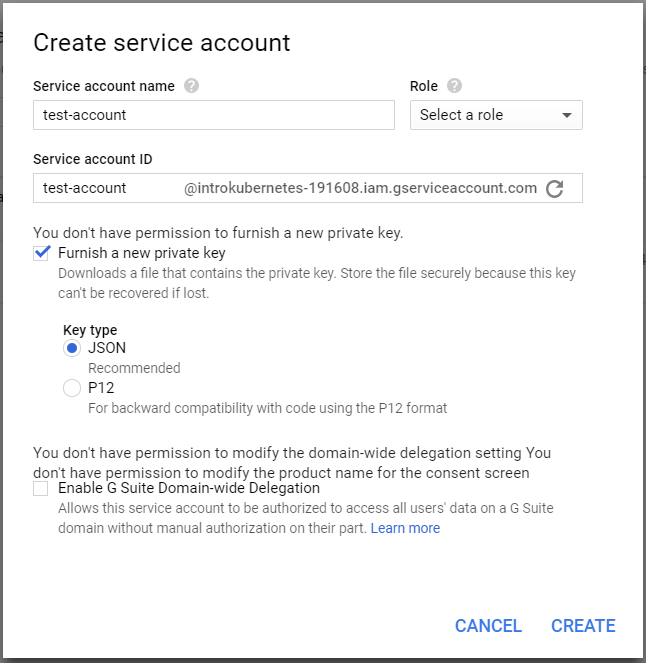
Fill out the details for your new service account.
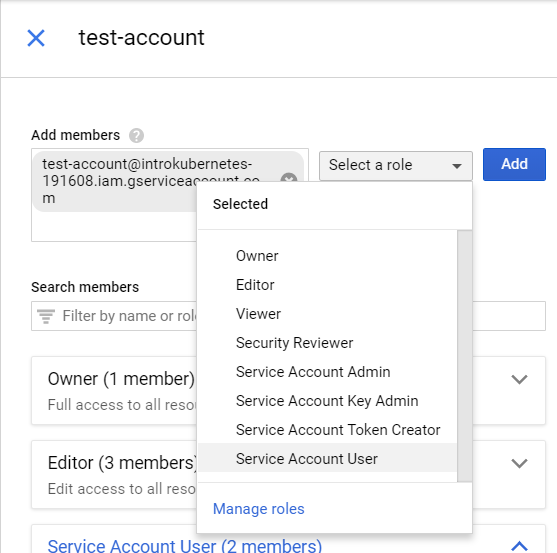
… then click on “create” and store the upcoming json private key file somewhere on your local drive. Select the new service account in the list of accounts showing in your browser now and then click on “+Permissions” above. Then enter the name of the new service account (“test-account” in our example), and add the “Service Account User” permission to it:
When you init a new tensorforce-client project, you will be asked for the name of this new service account as well as for the location of the private key file on your local drive.
Congratulations! Your google account is now all set up to run cloud experiments with tensorforce-client. Time to install the remaining few pieces of software on our local machine.
Get the Google Cloud SDK (all platforms)
Go to the following URL and download the google SDK executable for your platform:
https://cloud.google.com/sdk/docs/quickstarts
Run the executable and follow the installation instructions.
Make sure you enable beta commands during installation as sometimes the tensorforce-client will rely on those.
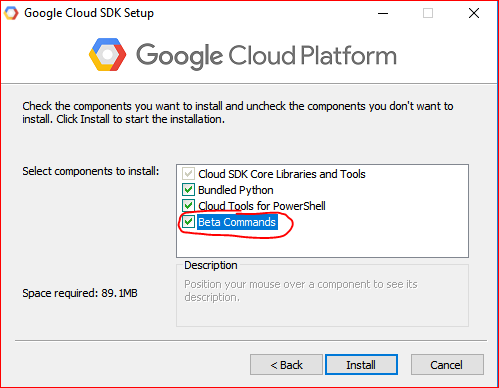
Enable beta SDK commands during the google SDK installation procedure.
At the end of the installation process, depending on the installer version, say ‘yes’ to setting up the command line client (gcloud) or make sure that gcloud init runs. This will conveniently point you to your google account and (newly created) google cloud project and set some useful defaults (default compute region and zone).
There is a shell that comes with the installation. However, in order to run the tensorforce-client from within any shell (anaconda, git, or vanilla PowerShell), simply make sure that the gcloud installation path + /bin is part of the %PATH env variable.
To make sure everything is setup correctly, run a test gcloud command. The output should look somewhat liks this:
$ gcloud version
Google Cloud SDK 187.0.0
alpha 2017.09.15
beta 2017.09.15
bq 2.0.28
core 2018.01.28
gsutil 4.28
Install Python3.5 or higher
… if you haven’t already done so a long time ago ;-)
Get the TensorForce Client
The tensorforce-client is a python module that can be installed in one of two ways:
1) The easy way: pip Installation
Installing tensorforce-client through pip:
$ pip install tensorforce-client
Note: tensorforce-client neither needs the tensorforce library itself nor any of its core dependencies (e.g. tensorflow or tensorflow-gpu). So this should be an easy ride. Exception: If you would like to view (offline) tensorboard summaries of your models to be able to understand how well the algorithm is learning or to debug your models, you will have to install tensorflow like so:
$ pip install tensorflow
2) The hard way: git clone + setup.py
You can also get the latest development version of tensorforce-client by cloning/pulling it directly from our github repo and then running setup.py:
$ git clone github.com/reinforceio/tensorforce-client
$ cd tensorforce-client
$ python setup.py
Setting an alias
Tensorforce-client is a python module that should be run using:
$ tfcli [some command(s)] [some options]?
tfcli is a short for python -m tensorforce_client. Should the alias tfcli - for some reason - not work on the command line in your shell, you can set the alias manually for your current session as follows:
- Windows:
$ doskey tfcli=python -m tensorforce_client $*
- Linux:
$ alias tfcli='python -m tensorforce_client'